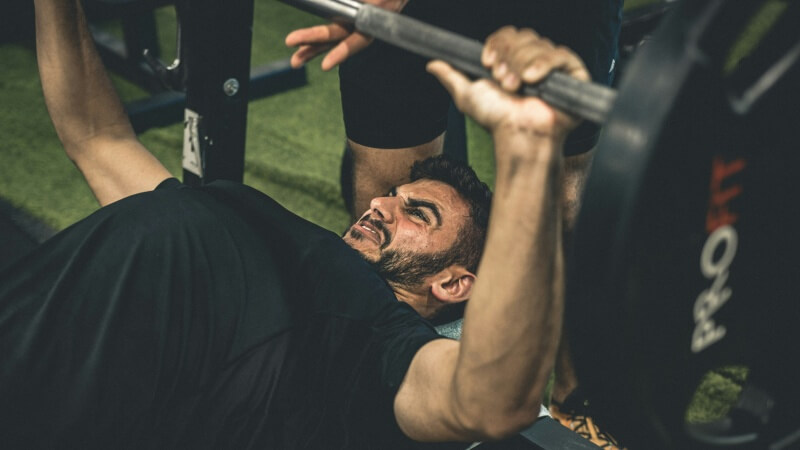
Gym Essentials For Women:A Complete List
Enthusiasts who never miss a session, understanding the gym essentials for women is crucial, not just for what to wear but also for what to
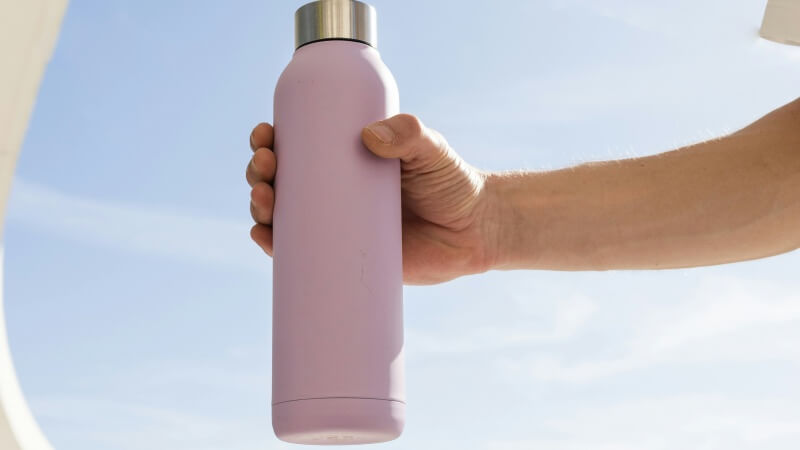
Ever thought that a smart water bottle could elevate your hydration game to a whole new level of cool?
In today’s DIY journey, we’re merging technology with daily hydration to create a gadget that’s not just a conversation starter but also a beacon of health.
From gathering materials to programming and testing, let’s dive into making hydration not just smart, but also fun and personalized.
This guide is your first step towards crafting a bottle that knows you better than you know yourself, reminding you to stay hydrated in the most tech-savvy way possible.
The idea of a smart water bottle might seem like a luxury until you understand its impact on your health and lifestyle.
This section is dedicated to unveiling the myriad of benefits a smart bottle brings into your life, transforming the mundane task of drinking water into an engaging, tech-driven experience.
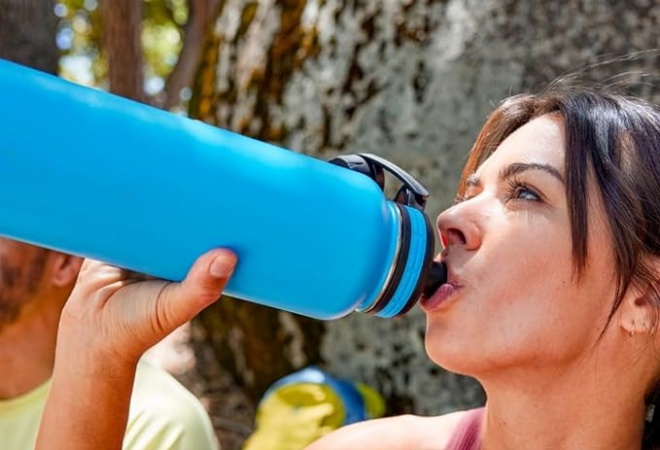
Embracing a smart water bottle is not just about adding another gadget to your collection; it’s about revolutionizing the way you hydrate.
With features designed to monitor your water intake, remind you to drink, and even keep your water at the perfect temperature, these bottles are a game-changer for anyone looking to improve their health and hydration habits.
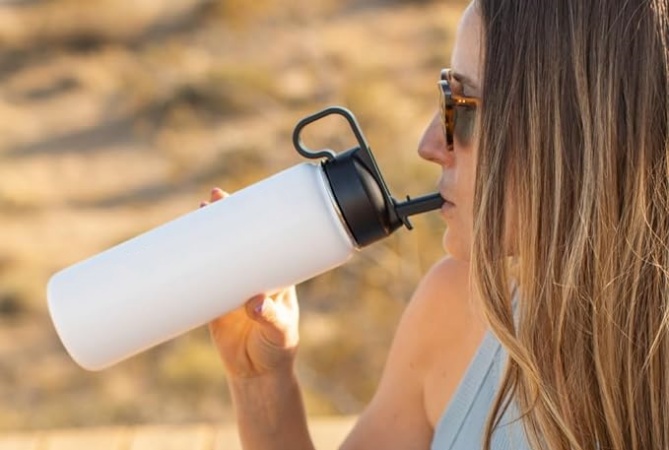
The benefits extend beyond health; they also include convenience, personalization, and a touch of fun in your daily routine. Whether you’re working out, stuck in meetings, or just going about your day, a smart water bottle ensures you’re well-hydrated in the most efficient and enjoyable way possible.
The smart water bottle isn’t just about drinking water; it’s about doing so smartly and stylishly. Each feature is designed to cater to different needs and preferences, making sure that staying hydrated is no longer a chore but a delightful part of your daily routine.
With these smart features, your bottle does more than hold water; it becomes a companion that cares for your well-being, making sure you’re adequately hydrated throughout the day with a minimum fuss and maximum efficiency.
The beauty of a DIY smart water bottle lies in its customization. It’s not just about what the bottle can do; it’s about making it do what you want, how you want. This segment of the bottle is your canvas, and you’re the artist.
Customizing your smart water bottle not only ensures that it meets your specific needs but also adds a personal touch to your hydration experience, making each sip a reminder of your creativity and ingenuity.
The journey to creating your personalized smart water bottle begins with assembling the right materials and tools. This step is crucial in transforming your vision into reality, ensuring you have everything you need to bring your smart bottle to life.
Constructing a smart water bottle starts with gathering the electronic components that make it “smart.”
From sensors that track your hydration levels to microcontrollers that process your data, each part plays a pivotal role in the functionality of your bottle.
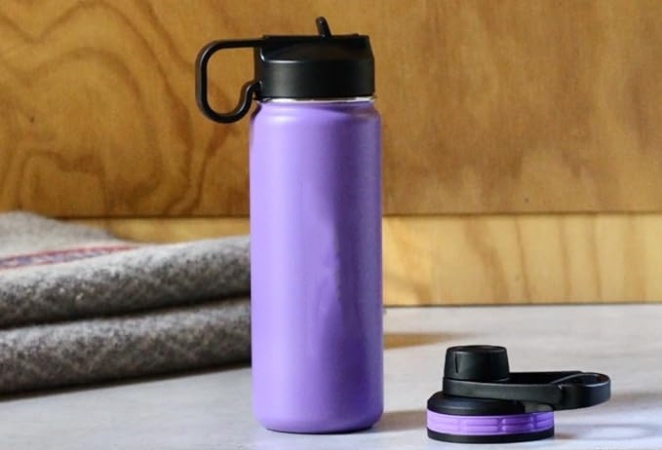
In addition to electronic components, you’ll need the bottle itself, which should be durable, insulated, and of a size that meets your daily hydration needs.
Choose a material that’s easy to clean and maintains the temperature of your beverages.
The right tools are just as important as the materials, making the assembly of your smart water bottle a smooth and successful project.
With these materials and tools at your disposal, you’re well on your way to creating a smart water bottle that not only meets your hydration needs but also reflects your personal style and technological savvy.
The quality of your smart water bottle directly depends on the quality of the components you choose. Sourcing high-quality materials ensures longevity, reliability, and efficiency in your DIY project.
Investing time and effort into sourcing the best materials not only elevates the quality of your smart water bottle but also ensures a rewarding and successful DIY experience.
With your materials and tools ready, the exciting part begins: assembling your smart water bottle.
This phase is where your project starts taking shape, combining technology with practicality to create a hydration companion that’s uniquely yours.
The assembly of your smart water bottle requires patience, precision, and a bit of technical know-how. But fear not; we’ve broken it down into manageable steps to make the process as smooth as possible.
Each step is a building block towards creating a smart water bottle that not only functions well but also stands as a testament to your DIY skills and creativity.
The true magic of a smart water bottle lies in its software. Programming your bottle allows you to customize its features to your liking, from hydration reminders to temperature control.
Programming your smart water bottle not only brings it to life but also personalizes it to your hydration needs, making it a true companion in your quest for better health.
The last step in assembling your smart water bottle involves adding the final touches and conducting thorough testing to ensure everything works perfectly.
With these final steps completed, you’re now the proud owner of a smart water bottle that’s not just a tool for hydration but also a reflection of your technical prowess and commitment to a healthier lifestyle.
Congratulations! You’ve just created your own smart water bottle. This isn’t just a bottle; it’s a testament to your creativity, technical skills, and commitment to staying hydrated in the most tech-savvy way possible.
So, take a sip of that perfectly chilled water and give yourself a pat on the back. You’ve earned it, and your body will thank you. Happy hydrating!