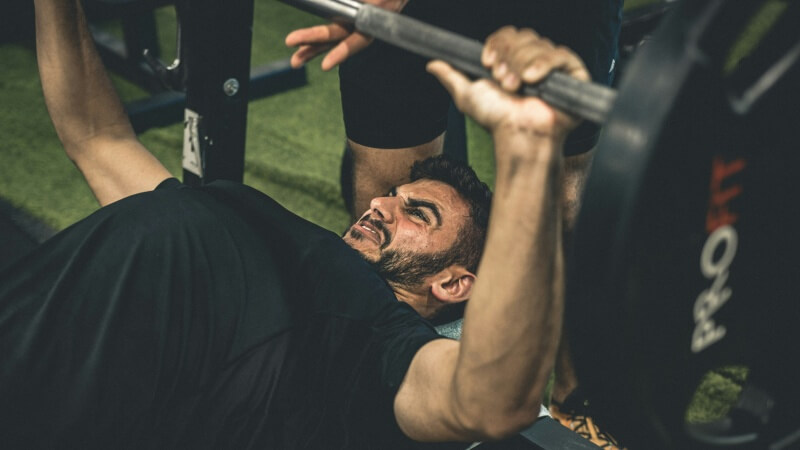
Gym Essentials For Women:A Complete List
Enthusiasts who never miss a session, understanding the gym essentials for women is crucial, not just for what to wear but also for what to
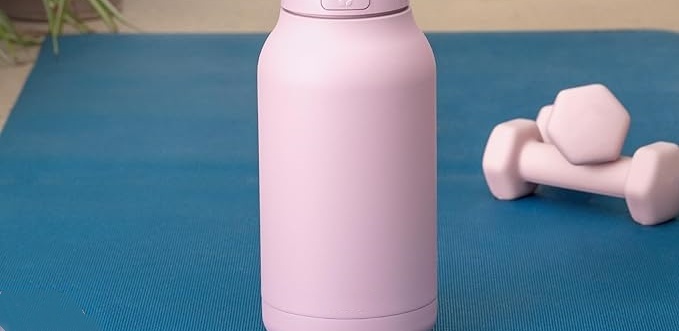
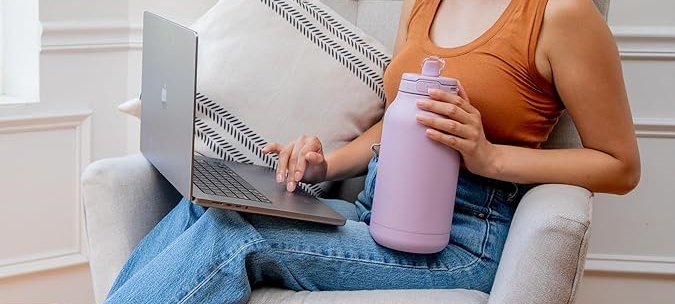
In the realm of personal hydration, the warmer bottle stands out as a beacon of versatility and convenience. Whether you’re looking to keep your morning coffee hot or your afternoon smoothie chilled, a warmer bottle is your go-to companion. But why settle for off-the-shelf when you can DIY?
Creating your own warmer bottle allows you to tailor every aspect to your liking, from the materials used to the design and features.
Let’s dive into the essentials of making a warmer bottle, infusing the process with creativity and personal flair.
A warmer bottle transcends its basic function of holding liquids; it’s a statement of sustainability, health, and personal preference.
The decision to use a warmer bottle goes beyond mere convenience. It’s a choice that impacts your health, the environment, and your daily routine.
A warmer bottle keeps your drinks at the ideal temperature for hours, encouraging you to stay hydrated with water or enjoy your favorite beverages just the way you like them.

By choosing a reusable warmer bottle, you’re also taking a stand against the disposable culture, reducing waste and promoting environmental sustainability.
Moreover, the health benefits of using a warmer bottle made from safe, non-toxic materials cannot be overstated. It ensures that your drinks are free from harmful chemicals, contributing to your overall well-being.
The journey to creating the perfect warmer bottle begins with selecting the right materials. Each material offers unique benefits and challenges.
Glass is elegant and does not impart any flavors to your drink but requires careful handling. Stainless steel is robust and durable, ideal for outdoor adventures, but can be heavier.
Plastic is light and versatile but must be chosen carefully to ensure it’s free from BPA and other harmful chemicals.
Your choice of material will influence not only the aesthetic of your warmer bottle but also its functionality and longevity.
Embarking on the DIY path to creating your warmer bottle requires assembling the right set of tools and materials.
Beyond the basics, like cutting tools for shaping and welding equipment for metal, consider investing in high-quality sealants to ensure your bottle is leak-proof.
Additionally, having a variety of materials at hand, including insulating options like foam or specialized fabrics, can enhance the thermal properties of your warmer bottle. This preparation phase is crucial in setting the stage for a successful and enjoyable DIY project.
The creation of a warmer bottle is a process that blends technical skill with artistic expression.
The heart of your warmer bottle is its inner liner, responsible for the thermal retention of your beverages. Crafting this component with precision ensures that your drinks stay hot or cold for extended periods. If using glass, consider the thickness and shape to optimize insulation while ensuring durability.
For stainless steel, techniques like welding must be executed flawlessly to prevent leaks and preserve the integrity of the insulation.
When working with plastic, selecting high-quality, heat-resistant materials is crucial to withstand varying temperatures without degrading. This step is foundational, setting the stage for the overall performance of your warmer bottle.
The outer shell of your warmer bottle is its shield and canvas. This is where functionality meets style, offering protection to the inner liner while showcasing your personal design preferences.
The process involves meticulous cutting, shaping, and assembly, ensuring the outer shell complements the inner liner both in form and function.
Whether you choose to adorn your warmer bottle with vibrant colors, patterns, or engravings, this stage allows creativity to flourish, resulting in a product that’s not just practical but also a reflection of your individuality.
The final assembly of your warmer bottle is a critical phase where all components come together to form a cohesive unit. This stage requires attention to detail, ensuring that the inner liner and outer shell align perfectly to optimize insulation.
Adding insulating materials between these layers can further enhance the thermal efficiency of your warmer bottle.
The application of sealants is pivotal in this step, securing the assembly and ensuring that your warmer bottle is ready to accompany you on all your daily adventures, leak-free and reliable.
The journey of your warmer bottle doesn’t end with its creation. Proper usage and maintenance are key to its longevity and performance.
Maximizing the potential of your warmer bottle involves more than simply filling it with your beverage of choice.
Techniques such as preheating or precooling the bottle can significantly extend the duration your drink remains at the desired temperature.
Moreover, understanding the cleaning and care requirements specific to the materials you’ve chosen ensures that your warmer bottle remains in pristine condition, free from odors and contamination, and maintains the integrity of your beverages over time.
To ensure your warmer bottle stands the test of time, regular maintenance is essential. Inspecting your bottle for signs of wear, such as cracks or leaks, can help prevent issues before they arise.
Proper storage is also crucial; keeping the warmer bottle with the lid off when not in use prevents the buildup of moisture and bacteria, preserving the cleanliness and freshness of your drinks.
These maintenance practices are simple yet effective in prolonging the life of your warmer bottle, ensuring it remains a dependable companion on your hydration journey.
Creating a warmer bottle from scratch is a rewarding endeavor that combines functionality, sustainability, and personal expression.
This guide has taken you through the steps necessary to design and assemble a warmer bottle tailored to your needs and preferences.
From selecting the right materials to crafting the inner liner and outer shell, and finally ensuring proper usage and maintenance, you now have the knowledge to create a warmer bottle that not only keeps your drinks at the perfect temperature but also aligns with your lifestyle and values.
So, embrace the DIY spirit, unleash your creativity, and enjoy the satisfaction of using a warmer bottle crafted by your own hands.
Can I customize the insulation level of my warmer bottle to suit different climates?
Yes, you can tailor the insulation of your warmer bottle to perform optimally in various climates by adjusting the thickness of the insulating layer between the inner liner and outer shell. For colder environments, consider using a thicker insulating material, such as high-density foam, to retain heat longer. Conversely, in warmer climates, a thinner layer might suffice, especially if the goal is to keep beverages cold.
Is it possible to repair my warmer bottle if it gets damaged?
Repairing your warmer bottle depends on the extent of the damage and the materials used. For minor leaks or cracks in the outer shell made of materials like stainless steel or plastic, applying a suitable sealant can often fix the problem. However, if the inner liner is damaged, especially if it’s made of glass, it’s crucial to assess whether repair or replacement is the safer option to prevent potential health risks.
How do I choose the right sealant for my warmer bottle to prevent leaks?
Selecting the right sealant is critical to ensure your warmer bottle is leak-proof. For most materials, food-grade silicone sealant is an excellent choice due to its flexibility, durability, and resistance to temperature changes. Ensure the sealant is compatible with the materials of your bottle and safe for contact with drinking water. Always follow the manufacturer’s instructions for application and curing times.
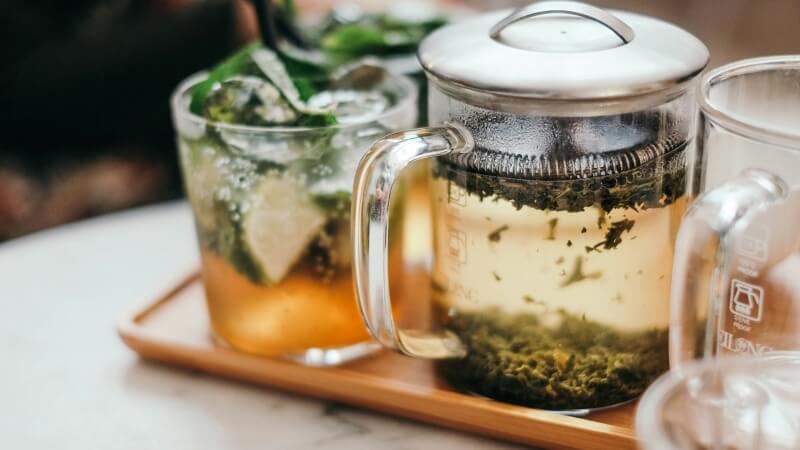
Can I add additional features to my warmer bottle, like a tea infuser or ice basket?
Absolutely! Adding features like a tea infuser or ice basket enhances the functionality of your warmer bottle. These can be incorporated during the design phase, ensuring they fit seamlessly with the inner liner. For a tea infuser, consider a detachable design that can be inserted or removed as needed. An ice basket can be integrated at the bottle’s neck, designed to hold ice cubes without obstructing the drinking flow.
What’s the best way to test the thermal efficiency of my handmade warmer bottle?
To test the thermal efficiency, fill your warmer bottle with a hot or cold liquid at a known temperature. Seal the bottle and let it sit for several hours in a place where the ambient temperature is consistent. After a set period, check the temperature of the liquid. A minimal change in temperature indicates good thermal efficiency. This simple test can help you assess whether additional insulation is needed or if your design meets your expectations.